Answer
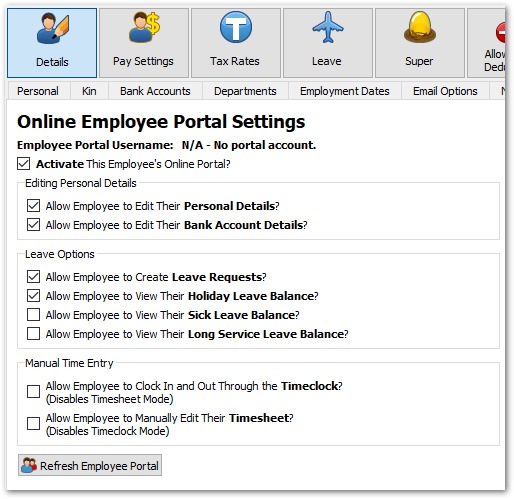
Before your employees can make leave requests through the online employee portal you must have activated their portal settings. The two main settings required for leave requests are Activate This Employee's Online Portal and Allow Employee to Create Leave Requests.
In the desktop app: open Employees >> Details >> Online Portal for each employee. You can also configure settings for multiple employees at once under Tools >> Multiple Employee Portal Settings.
In the online (web/mobile) app: open the employee record, navigate to the Details >> Online Portal Settings tab, and enable the portal and leave request options there.
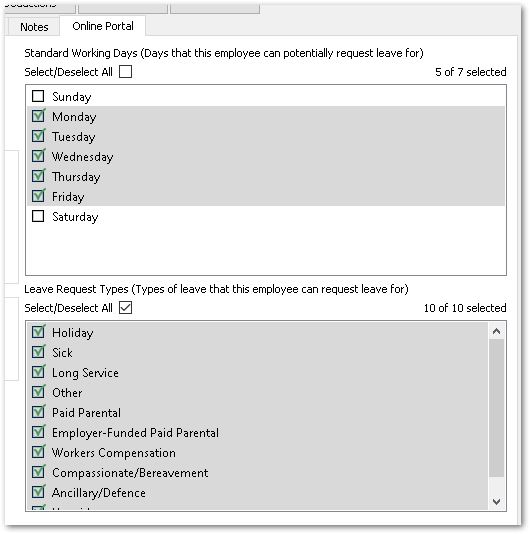
You can configure other settings as you wish, particularly the standard working days and leave request types to the right of the screen.
How Do Employees View or Create Leave Requests?
Employees can log in to their personal portal here and click on the Leave tab.
In the Leave section, they can view their current leave balances (if enabled within their online portal settings), along with any current or previous leave requests.
Employees can search and filter through their past leave requests using the dropdown and date boxes. They can also delete pending requests and cancel any other request if need be. Editing from an employee's perspective is limited to the adding of notes.
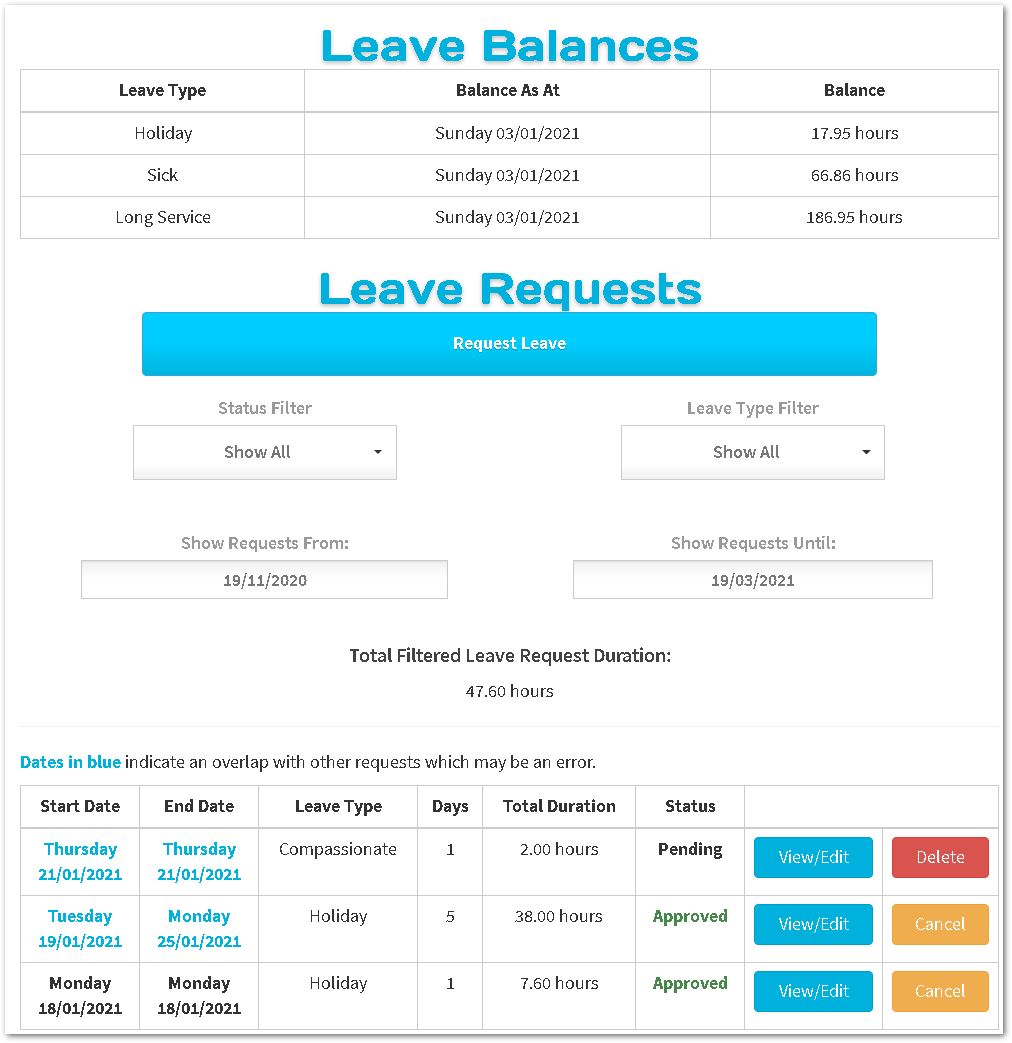
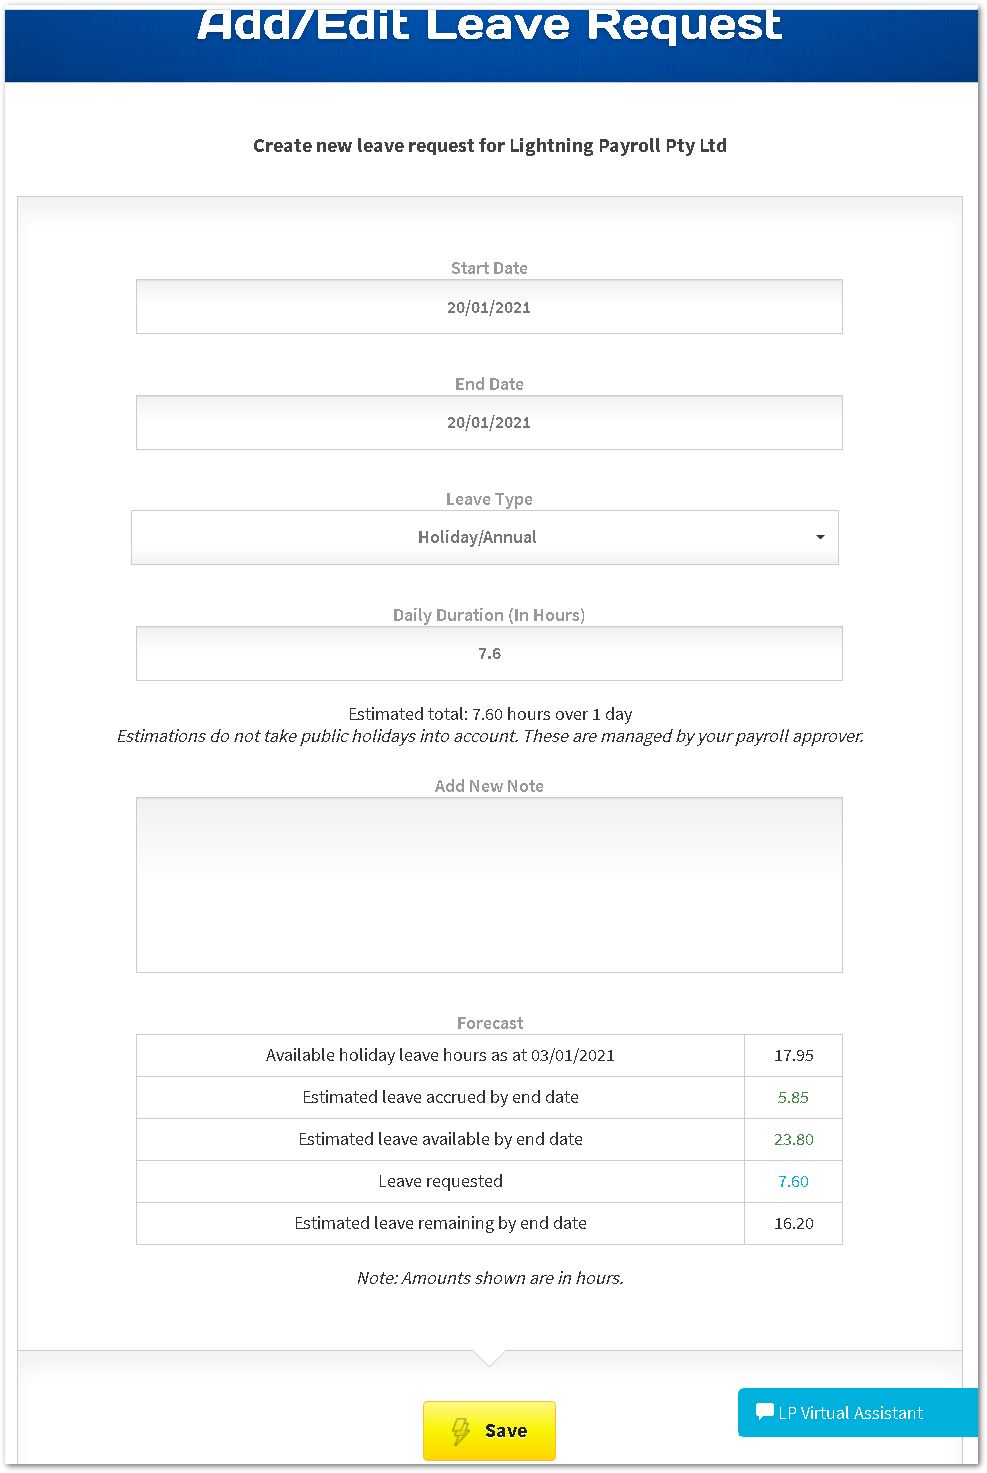
To request leave, the employee clicks the Request Leave button. They will then see a form where they can enter the start and end dates for the leave, and the type of leave they wish to take.
The Daily Duration section shows how many hours will be applied to each date within the leave request.
If the selected leave type's balance is permitted, a forecast table will be shown at the bottom.
For multi-date leave requests the app relies on the employee's Standard Working Days (default is Mon-Fri), skipping any days which are not normally worked. An employee's standard working days are configured in their Online Portal settings described above.
How Do I Manage and Approve Leave Requests?
Once a leave request has been saved, a notification email is sent to the approver via the registered company email address (under Company >> Details within Lightning Payroll).
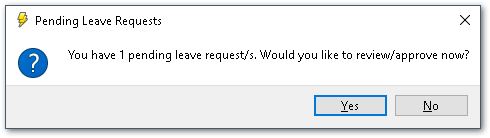
In the desktop app: you will also receive a prompt when you next enter the Pays screen. Accepting the prompt opens the leave request management window directly. You can also open it at any time by clicking the Timeclock (Portal) Sync button on the Pays screen and selecting Import/Manage Leave Requests from the dropdown.
In the online (web/mobile) app: navigate to Rosters >> Manage Leave Requests to view and manage all leave requests.

To view, edit or approve a leave request, click the edit pencil button beside the request you wish to edit. You will be able to modify dates, leave types, status and notes within any leave request.

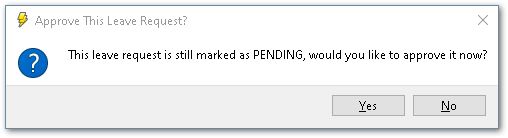
If you forget to change the status, a reminder message will appear.
When you change the status of a leave request, or when you add a note to a leave request, a notification email is sent to the employee to inform them of the change.

How Do I Make a New Leave Request on an Employee's Behalf?
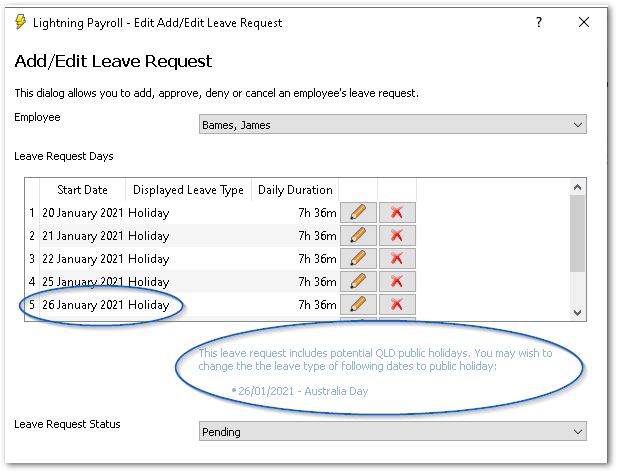
To add a new leave request, click the green plus button in the main leave requests management window. You can then press the green plus in the next window to add specific dates to the request. Keep in mind a leave request may consist of multiple leave types if necessary (for example, Annual leave and Public Holiday).
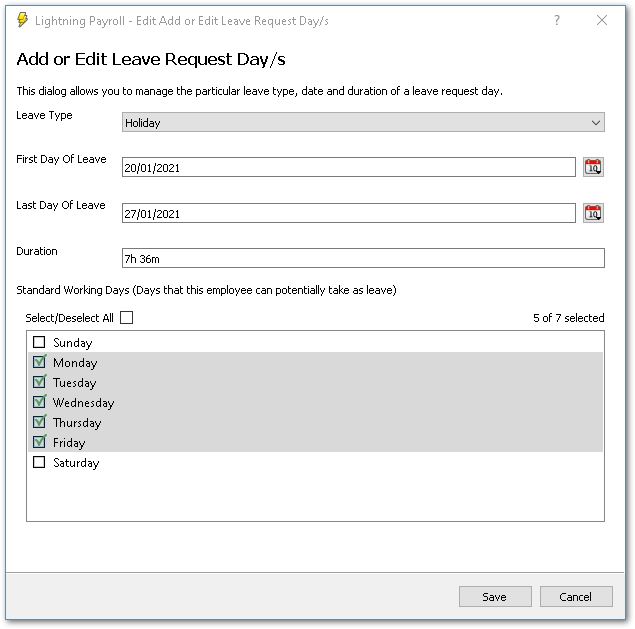
Once you have added one or more days to the request you will see them listed like the following example. Notice how, if the program detects any public holidays within the leave request's dates, it will make a mention. If you would like to change the leave type of any dates to public holiday (or any other leave type you might need), click the edit pencil beside the date in question.
Any approved leave will then automatically add itself to pending pays, so long as the pay run start and end date contain the date of the approved leave request.

